Create or Edit Reading
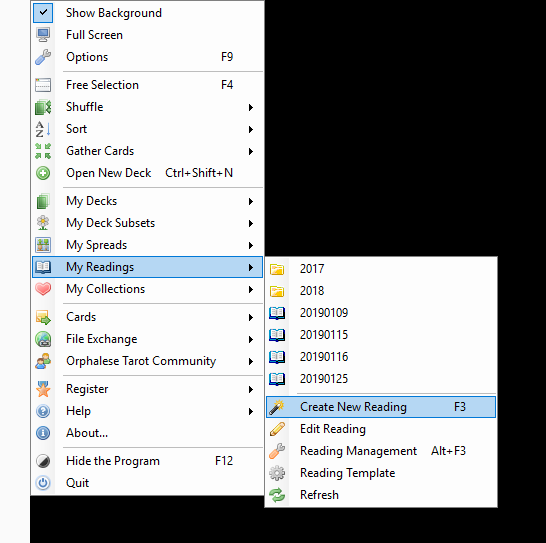
The Create or Edit Reading tool, also known as the Reading Wizard is launched from the My Readings menu, either by clicking Create New Reading or Edit Reading, or using the F3shortcut key, and browsing to the Reading you want to edit.
To create a reading you first position some cards, then save the reading in a special format which includes the following information:
- The name of the reader
- The name of the querent
- The date of the reading
- Which deck or decks were used
- Which cards were out and their positions
- Notes associated with each card in its position
- General notes pertaining to the reading as a whole
Readings are normally saved having dealt a spread, but you can save a reading at any time there are cards out of the deck, including when they have been dealt manually.
If you are recreating a reading you did manually with a physical deck of cards and you know which card you want in each position please see Dealing a Spread in Free Selection Mode.
If you want to save the reading as an image see the section on taking a Screen Image.
After you have dealt some cards and chosen Create Reading on the menu above, you will initially see something like this:
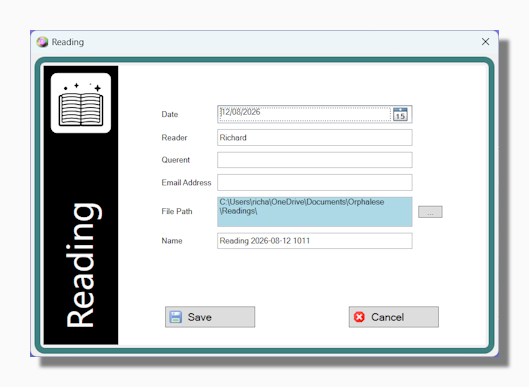
This is where you input the textual details about the reading (these can be edited later).
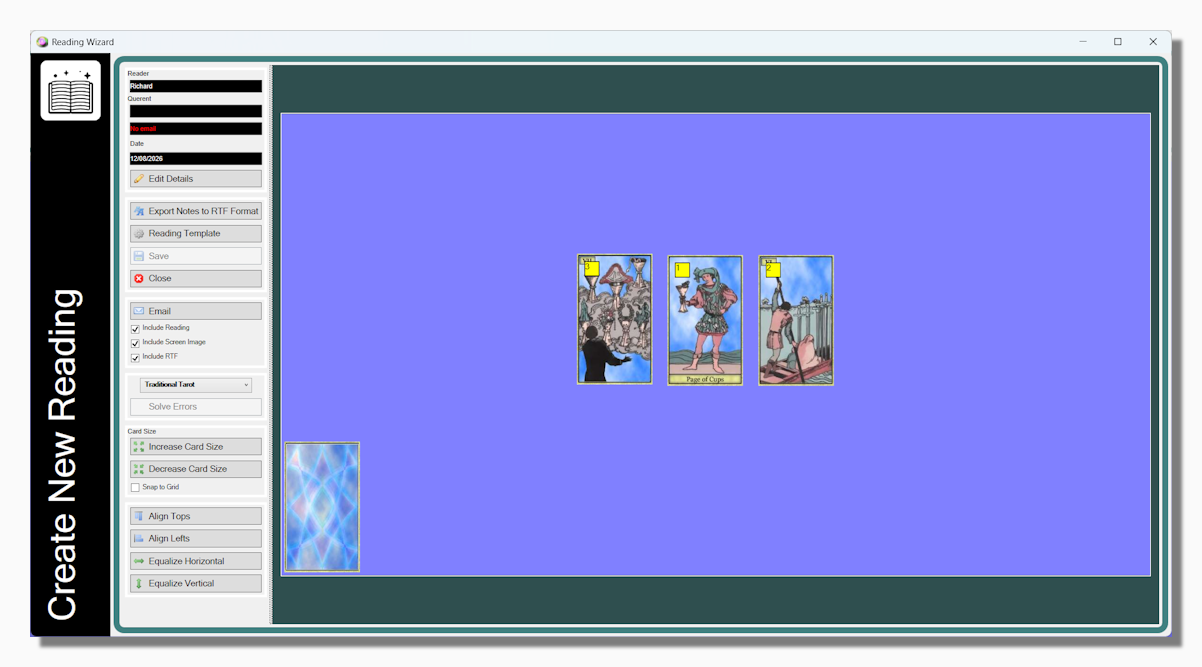
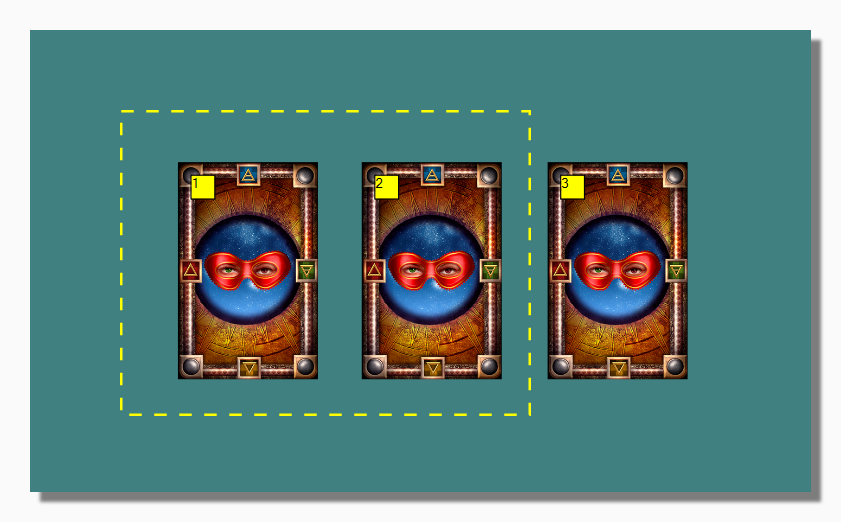
The program gives you various tools to help with precise positioning of the cards. You can "lassoo" a group of cards by dragging around them with the mouse (while holding the left mouse button down). This will cause a yellow dotted line to appear. When you raise the mouse button any cards contained in this yellow dotted line will have been "lassooed".
The cards you lassoo in this way can be acted on by the following controls:
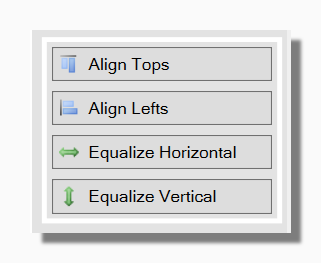
You can align the tops of the cards, align the left hand sides, or equalize the vertical or horizontal spacing between them.
Finally there is also the "Align to Grid" check box. This causes a grid of small squares to appear to which cards are automatically aligned, make it easier to position them neatly.
Tip: You can also find these options by right-clicking on any of the cards.
Tip: When two cards overlap and you want to make it so the bottom card is actually on top you can right-click and choose "Bring to Front". This actually changes the lay order of the cards within the deck so that the required card will be placed on top.
To Edit the notes associated with any spread position, right-click and choose "Edit Card Notes". A window like the following will open:
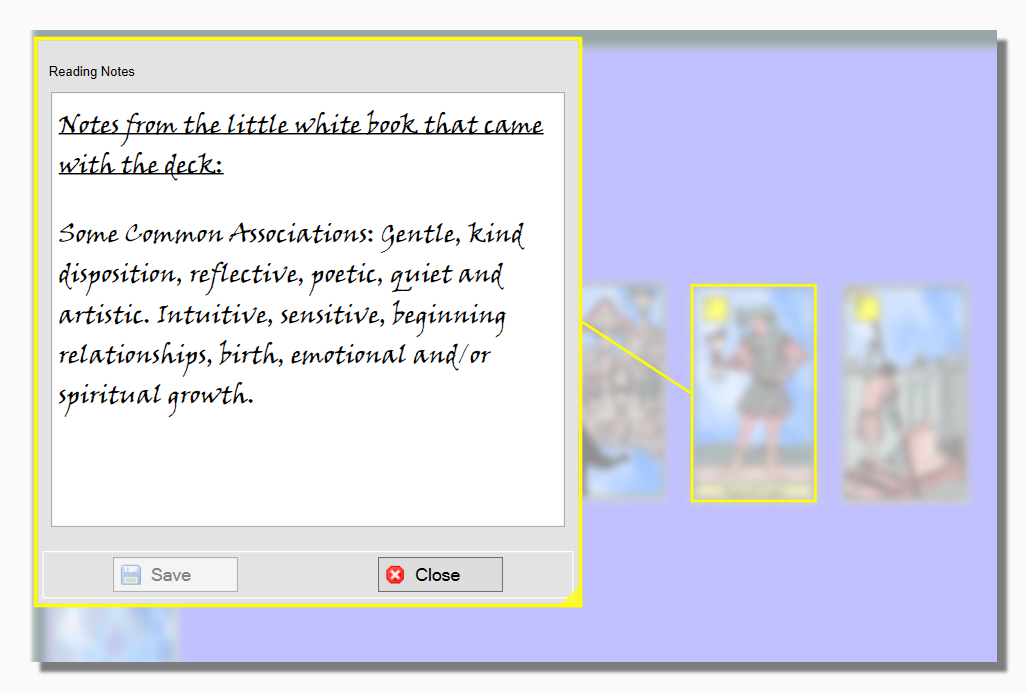
Here you can edit the notes that will be saved for each card in the reading. What notes appear here is a combination of the notes for the card and for its position in the spread, plus any headers associated with these two sources. The precise way they are combined is defined in the Reading Template window.
You can use the Card Size buttons to make the cards bigger or smaller on the screen.
The number that appears on each card is the order in which the cards were dealt.
Tip: When two card overlap, click on either card in the designer window to bring it to the front.
Tip: Check the Snap to Grid box to make it easier to position the cards with equal spaces between them.
Sharing a Reading with a Querent
The program makes it easy to share the reading by launching your default email client and creating a new email with a choice of different attachments.
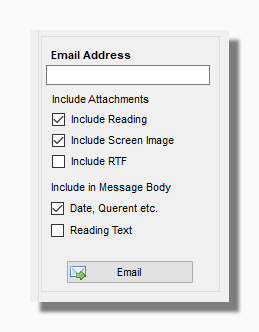
Include Reading If this is checked the saved reading will be attached to the email as a .reading file, the normal Orphalese reading format. If you have so far not saved the current reading you will be prompted to do so first. This way of sharing a reading is only appropriate for someone else who uses the program. When they first open the reading they will very probably be asked to browse for the deck first (unless it happens to be in the same directory location relative to their Decks Folder as it is on your computer). Remember that the actual cards are not sent with the reading, just information about their positions.
Include Screen Image If this is checked a small image capture is included based on what is shown on the Positions Tab. Prior to attachment the image will be saved at the same location as the reading itself and with the same name.
Tip: If you want to send a proper screen image including the current background, stripped of any screen clutter such as undealt cards and which you can edit and review beforehand, the you should use the Screen Image tool to create the image separately and then attach it to the email in the normal way.
Include RTF if this option is checked the program will include any RTF document you might have previously created and saved using the RTF Export tool as described below.
The program also lets you set various options for the text you want to import into the email.
Tip: If the text in the email does not appear to be nicely formatted, particularly if it all runs into one paragraph, you can try checking or unchecking the Use HTML line breaks in email messages option on the Program tab of the Options form. This will let the program use the same kind of line breaks as are used by your email client.
Using the RTF Tool
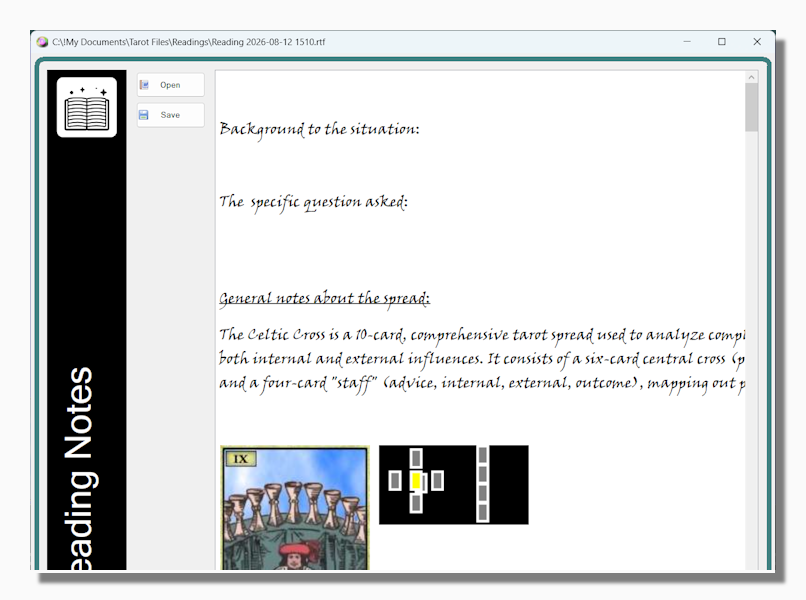
Pressing the "Exports Notes to RTF Format" button outputs all the elements defined in the Reading Template window to a form with a Rich Text editor. This enables you to save the notes and images in a way that is compatible with Microsoft Word etc. When using the Rich Text editor you can select any text you want to format and right click to bring up a menu with formatting options.